Skimming a ceiling looks, from the outside, like someone spreading plaster about for a few hours. What's actually happening is a sequence with fairly unforgiving timing, where each stage has to be done inside a specific window or the finish suffers.
Here's the whole thing, start to finish, so you know what you're paying for and what your house is going to look like while it happens.
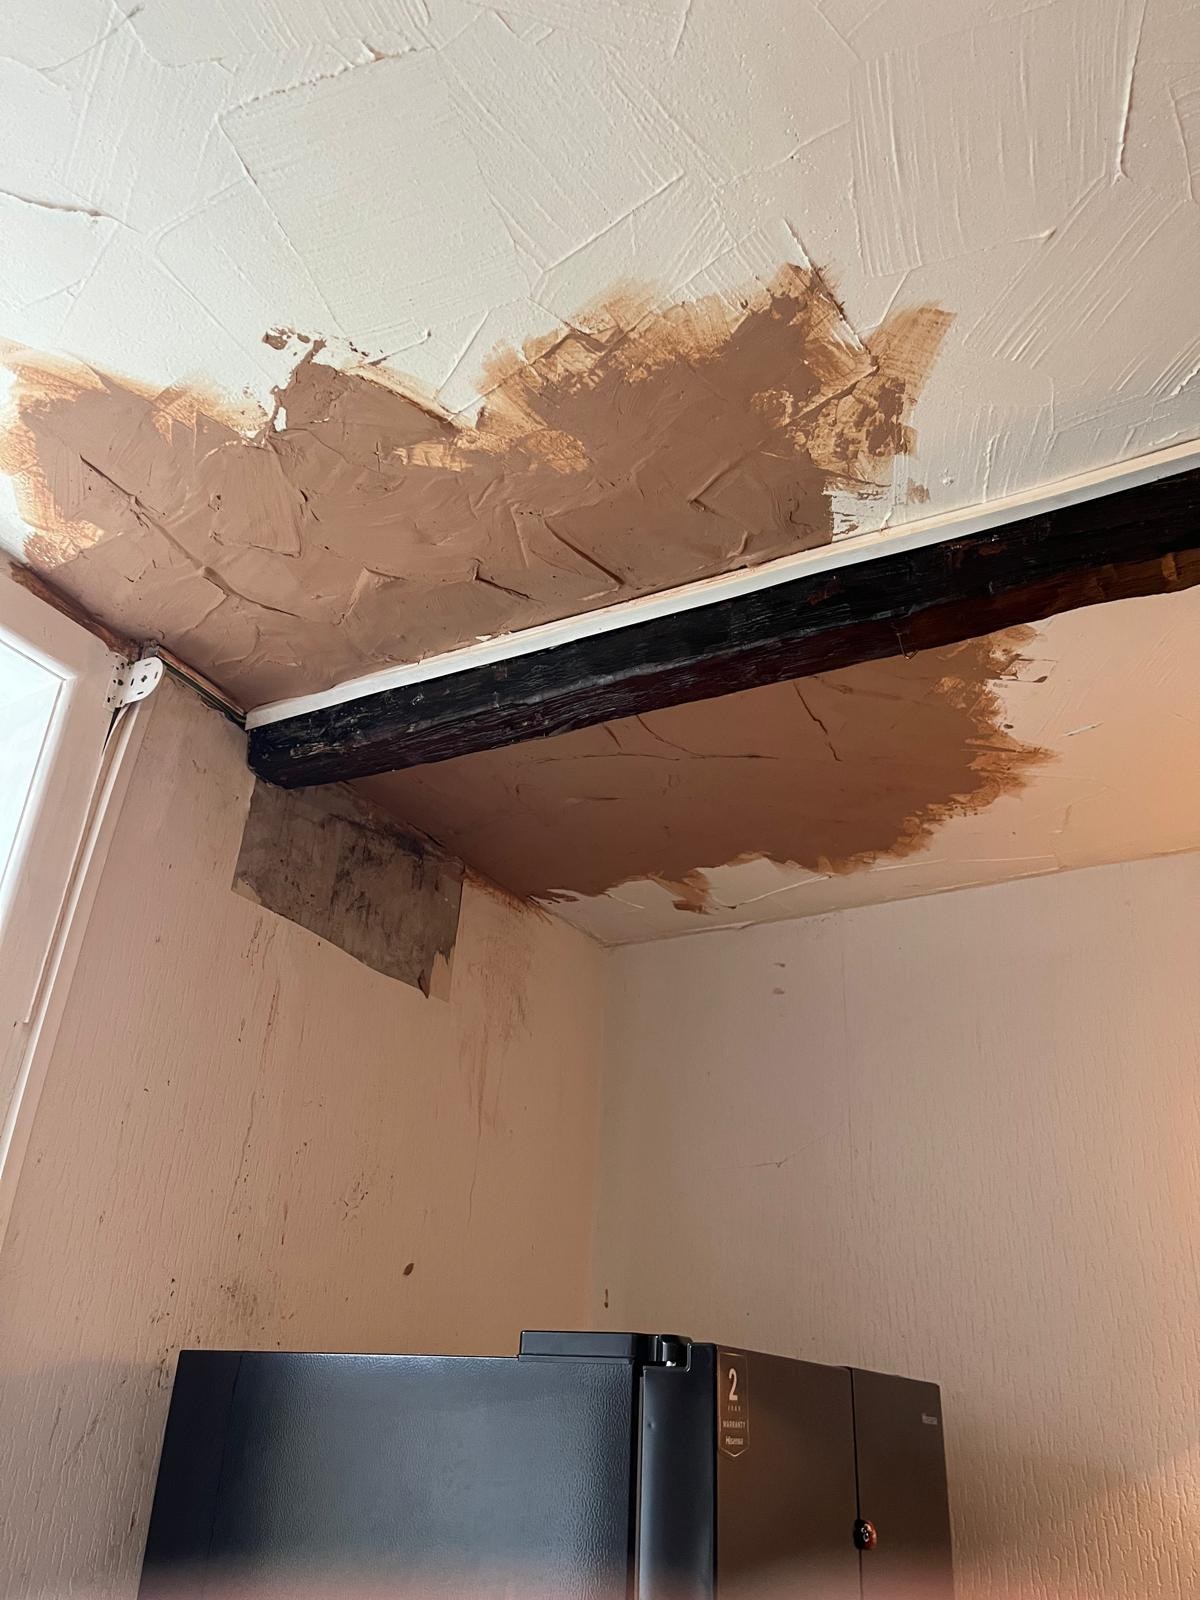
Before the day: what you need to do
Clear the room completely if you can. Everything that can leave the room should leave the room. Anything that can't — a wardrobe that won't fit through the door, a fitted unit — gets moved to the middle and covered, but understand that "covered" is not the same as "unaffected". Plaster dust travels and it finds gaps.
Take down curtains, poles, light fittings where possible, and anything hanging on the walls. Lift carpets if the room is being fully redecorated afterwards; if not, we'll sheet over them, but a plastering job is genuinely the ideal time to have carpet up.
Leave the heating off in that room the day before if you can. A cold-ish room is easier to work in than a hot one, because plaster that dries too fast is plaster that cracks.
Stage 1: Protection — 30 to 45 minutes
This looks like faffing. It isn't, and it's the stage that separates a job you'll be happy with from one you'll be hoovering for a fortnight.
Floors get sheeted, usually double-layered — polythene down first, then dust sheets over. Polythene alone is lethal underfoot when wet plaster lands on it. Door openings get sealed with polythene and tape so dust doesn't migrate through the house. Any remaining furniture gets wrapped. Sockets, switches, radiators and window frames get masked.
If a plasterer arrives and starts mixing within ten minutes of walking through the door, that's a warning sign.
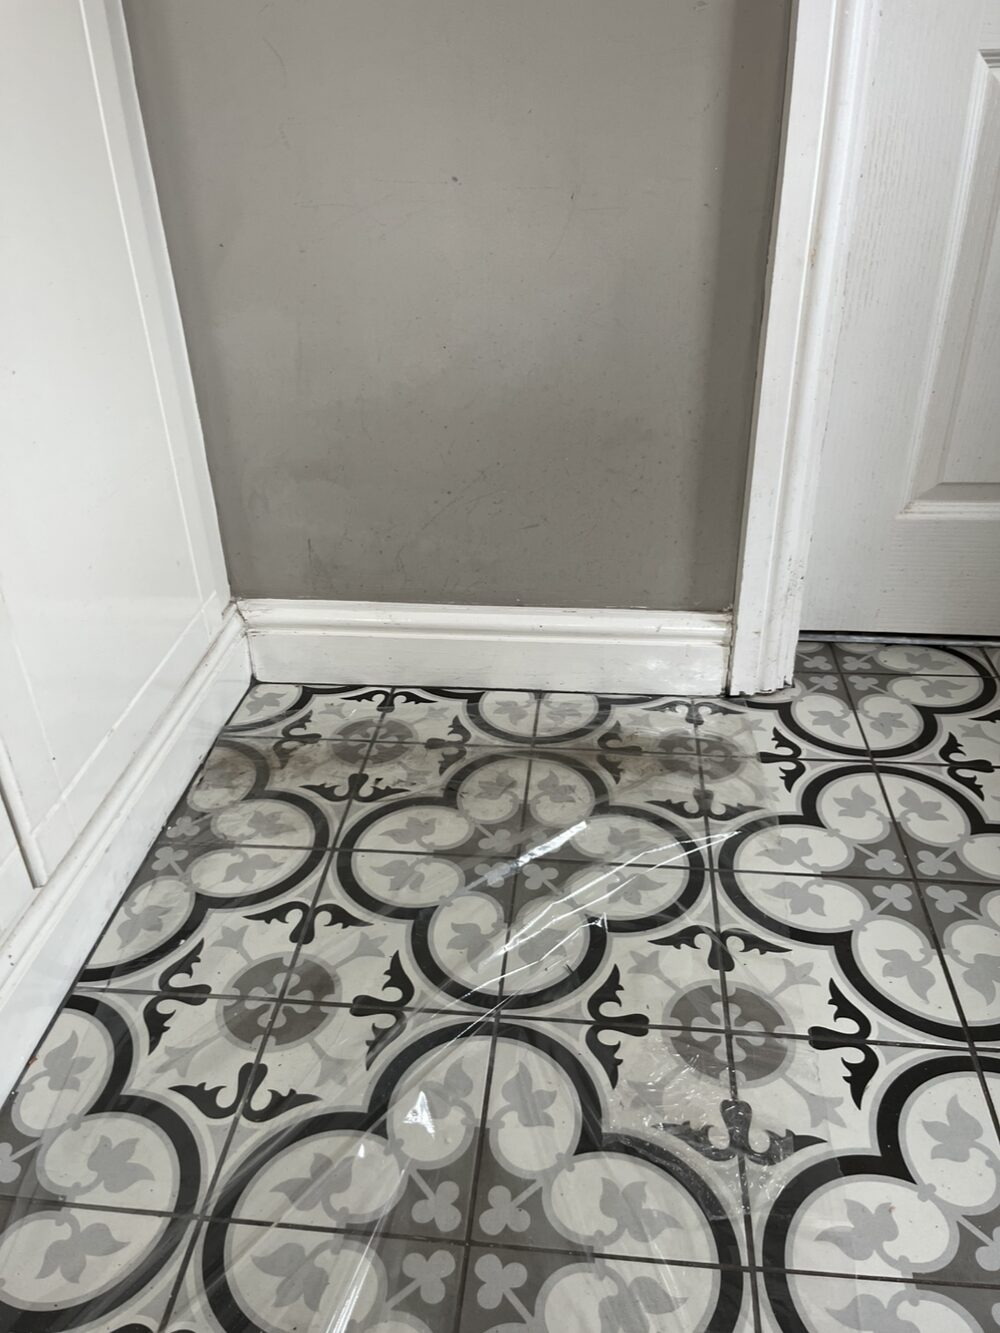
Stage 2: Preparation of the ceiling — 30 minutes to 2 hours
What happens here depends entirely on what's up there.
Sound existing plaster
Brush down, remove any loose material, then apply a bonding agent — usually PVA at the correct dilution, or a proprietary primer. This does two jobs: it gives the new plaster something to grip, and critically it controls suction. A dry, thirsty ceiling pulls the water out of fresh plaster far too quickly, and you end up unable to trowel it before it's gone off.
Artex or textured coating
If it's sound and lightly textured, it can be sealed and skimmed straight over. Heavy texture gets overboarded. Anything applied before the mid-1980s gets tested for asbestos before it's touched — no scraping, no sanding, no exceptions.
Old lath and plaster
Common in pre-1930s properties across Burnley and older Southport stock. If the laths are sound and the plaster is keyed, it can be overboarded. If it's dropping away from the laths, it comes down entirely, and that's a different job with a skip involved.
Overboarding
Plasterboard fixed through to the joists, joints taped with scrim, then skimmed. This is often the better answer on an old ceiling — you get a genuinely flat plane rather than a smooth version of an uneven one.
Stage 3: First coat — 45 to 90 minutes for an average ceiling
Plaster is mixed to a consistency somewhere around thick custard, and the mix matters as much as the application. Too wet and it slumps and won't hold on the ceiling. Too dry and it drags and goes off before it can be worked.
The first coat goes on at around 2mm, worked from one corner across the ceiling in overlapping passes. Ceilings are harder than walls for the obvious reason — you're working overhead, against gravity, with your arms above your head, and everything that doesn't stick lands on you.
This is the coat that fills and levels. It doesn't need to look pretty. It needs to be even and it needs to be on quickly, because the clock starts the moment the plaster hits the ceiling.
Stage 4: Second coat — 30 to 45 minutes
Applied while the first coat is still green — firm but not fully set. This is a thinner coat, roughly 1mm, and it's the one that gives you the actual finish surface.
Get the timing wrong in either direction and it shows. Too early and the second coat drags the first around and you lose your level. Too late and the two coats don't knit together properly, which can cause delamination further down the line.
Stage 5: The trowelling sequence — 1 to 2 hours
This is where a skimmed ceiling is actually made, and it's the part that's almost impossible to rush.
- First pass — flattening, taking out ridges and trowel lines while the plaster is still soft
- Second pass — as the plaster starts to firm up, working the surface to close it and consolidate it
- Third pass, wet trowel — a light spray of water and a final pass to bring the surface to a polish and close any remaining pinholes
From first coat going on to final trowel — a sequence that cannot be paused. This is why a plasterer won't stop for a chat halfway through and why they'll often work through lunch. Once it's on, it's on the clock.
Each pass has to happen inside its window. The finish you're aiming for is flat, closed and free of trowel marks — a surface you could paint straight onto if it were dry.
Stage 6: Clean down — 30 minutes
Tools washed, waste bagged, sheets lifted carefully rather than dragged, floors brushed and vacuumed. A properly protected room means this is quick. A badly protected one means it isn't, and some of it never fully comes out.
What happens next: drying
This is the stage most people underestimate, and getting it wrong undoes everything above.
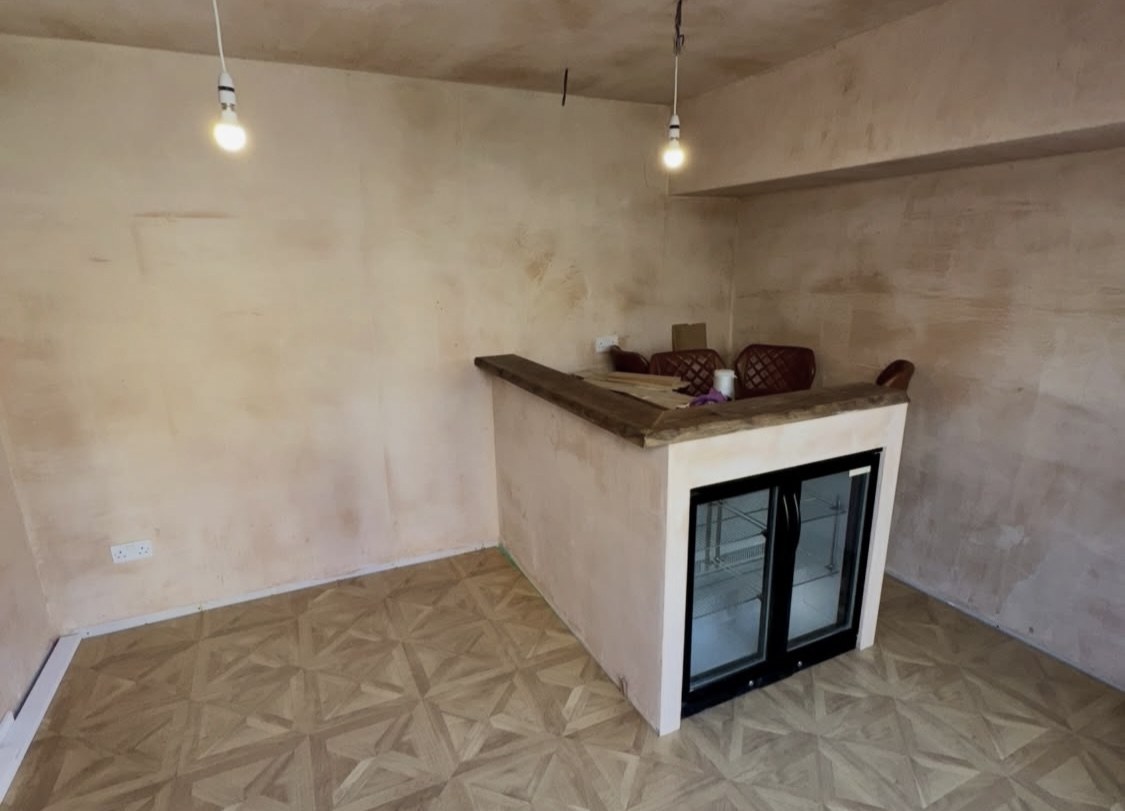
New plaster goes on dark brown and dries to a uniform pale pink. All of it has to be pale pink — not most of it — before anything goes on top. That takes seven to fourteen days depending on time of year, room temperature and ventilation. In winter, in a cold room, it can be longer.
What helps: ventilation. Windows open a crack, doors open, air moving through.
What hurts: whacking the heating up to force it. That dries the surface while the depth stays wet, and you get cracking, or paint that peels off in sheets in six months.
When it is properly dry, the first coat of paint should be a mist coat — emulsion thinned roughly 30% with water — which soaks in and seals the plaster. Full-strength emulsion straight onto new plaster sits on the surface and peels. It's the single most common mistake people make after having a room plastered.
Timings for an average ceiling
| Ceiling | What's involved | Time on site |
|---|---|---|
| 12m² bedroom, sound plaster | Prep, seal, two coats, trowel up | 1 day, 6–7 hrs |
| Same ceiling, overboarded first | Board, scrim, then skim | Add 2–4 hrs |
| Lath and plaster, strip-out | Ceiling down, waste out, reboard | Add 1 day + disposal |
| Drying before decorating | Uniform pale pink throughout | 7–14 days |
For a standard bedroom ceiling of around 12m² on sound existing plaster: one day, roughly six to seven hours on site. Overboarding first adds two to four hours. A lath and plaster strip-out adds a full day plus disposal.
What good looks like
When the light is on and you look across the ceiling at a shallow angle — which is how you'll see it every evening — it should be flat, with no ridges, no trowel lines, no pinholes and no dips around the light fitting. That raking-light test is the honest one. Straight-on in daylight, almost any ceiling looks fine.
Ceiling needs doing properly?
Measured on site, itemised, and an honest answer on whether it wants skimming or overboarding. No deposit before work starts.
Getting it done
We skim ceilings, walls and full rooms across Burnley, Padiham, Nelson, Colne, Accrington and Clitheroe, and across Southport, Birkdale, Ainsdale, Churchtown and Formby. See our plastering work, what it costs, or if the room needs painting afterwards, our guide to decorating in Burnley.